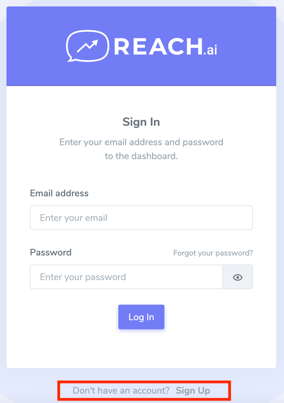
Step 1: Select “Sign Up”
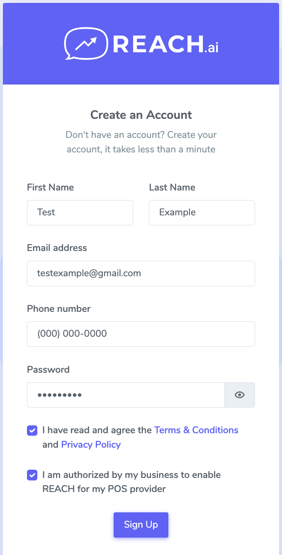
Step 2: Fill out sign up form and click “Sign Up”
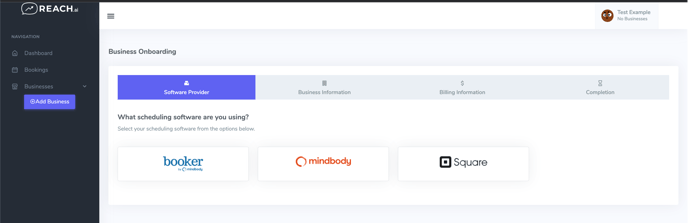
Step 3: You will now arrive on the dashboard
Step 4: Begin business onboarding by selecting your point of sale system
Step 5: Enter your business information. Some answers to common questions are located in the FAQ. Several fields are optional, and tooltips are available for each field describing what Reach uses it for. Some of the information entered here, such as business short name and logo, will have a direct impact on the messages that Reach sends to your clients.
Step 6: You will be asked to provide access to Reach through your point of sale system. Point of sale specific instructions are located in the dashboard. Please follow these instructions to allow Reach to access your appointment data.
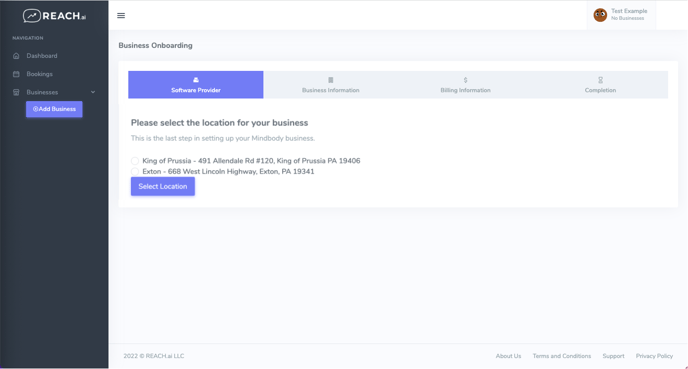
Optional Step 7: if you have multiple locations, you will be prompted to select the location you are currently onboarding. Each location you want to onboard to Reach is treated as a separate “business” and will be onboarded individually. This is because we respect the location preference of your customers and utilize different data sets for each location. Select the business you want to onboard now, and then repeat the onboarding process for additional locations.
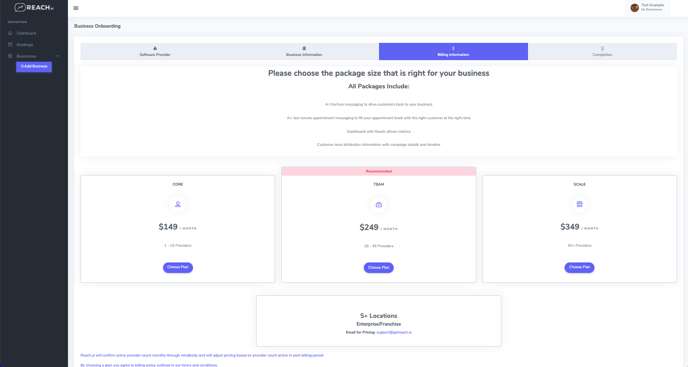
Step 8: Select the appropriate product package. Pricing is based on the number of providers or bookable spaces in your business.
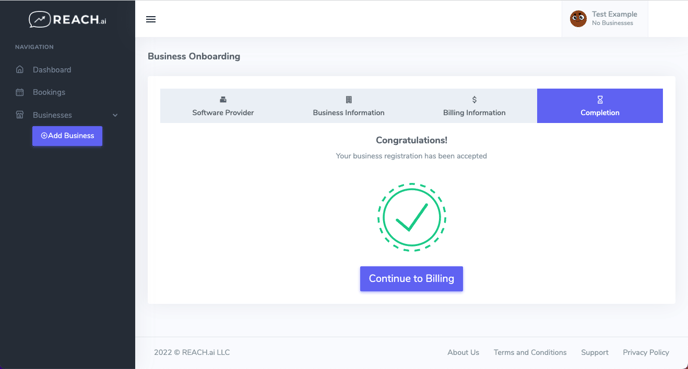
Step 9: You will see a congratulations page, and a button to proceed to enter billing details. Click the button.
Step 10: Enter your billing information
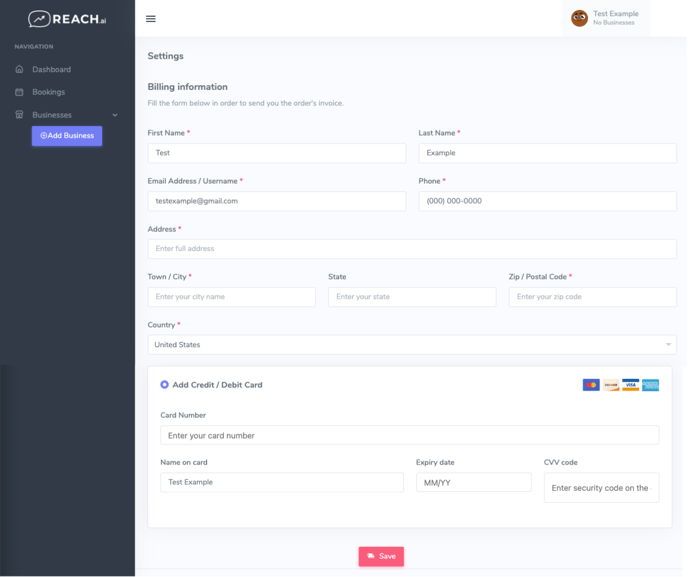
Step 11: Click “Save” on billing details. You will receive a confirmation that you have onboarded successfully and are now able to access the REACH.ai dashboard.