Dashboard
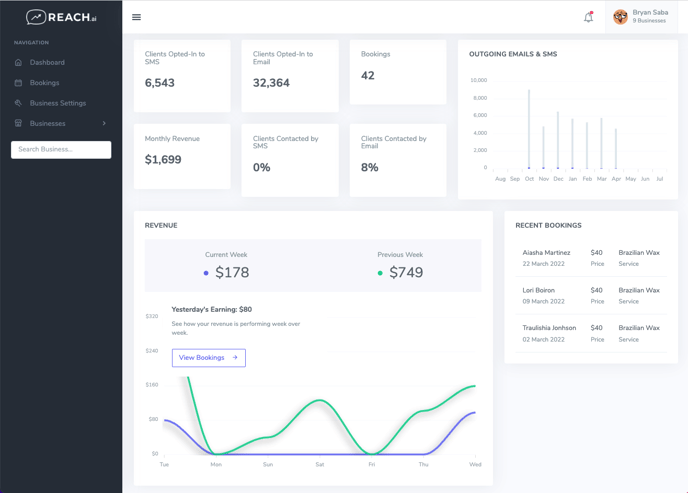
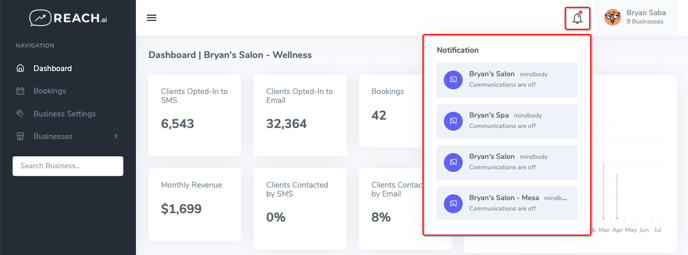
The dashboard for each of your businesses contains several pieces of information that demonstrate how REACH is working for you.
Across the top, there are several metrics measuring your reach to your clients. From opt-ins, which directly impact how many of your clients REACH can contact, to total bookings and messages sent per client. Each of these metrics is calculated based on the current calendar month.
On the right hand side, there is a graph showing the total number of SMS and Email message sends from REACH on your behalf to your clients. You should expect to see the SMS count consistently lower than Email because of the logic that goes into our SMS messages. Additionally, it is common for clients to opt in to email, but not text.
At the bottom of this screen are revenue and bookings. Here we should you how much revenue reach has booked for your business this week, and appointments that REACH recently helped you book. Everything in this section is based on when your client actually booked their appointment, rather than the date of the appointment. For example, if today is January 1, and your client books an appointment today for February 1, the metrics include that booking in January, rather than February, numbers.
If you click on any of the recent bookings, you will arrive on the Timeline view (explained below).
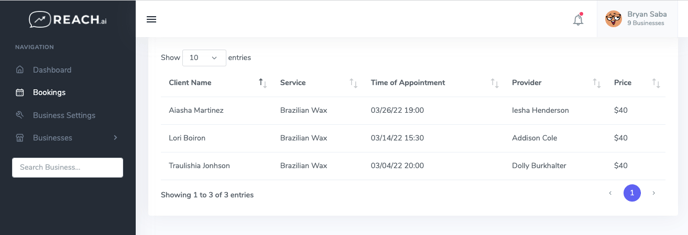
Bookings
The bookings page shows a table of all of the recent bookings attributed to REACH. If you click on any of these bookings you will arrive on the timeline view (explained below).
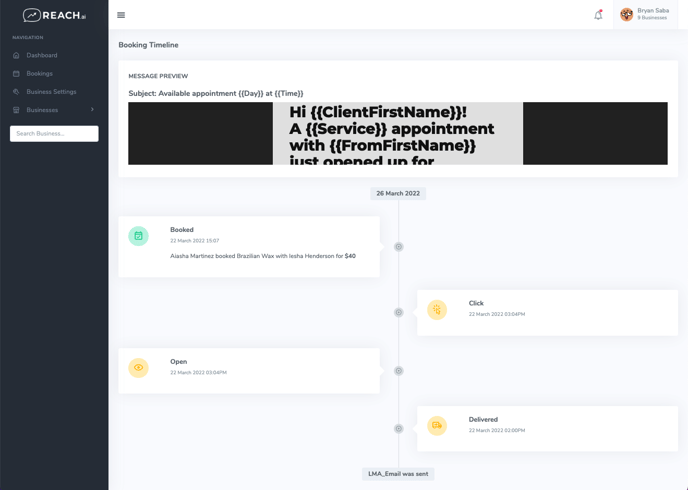
Timeline
The timeline view is where you can see how your clients are engaging with REACH messaging. Every time your clients book an appointment with you after interacting with REACH we can show you exactly what message we sent on your behalf, when it was sent, when your client opened it, clicked, and booked.
Alerts
In the upper righthand corner of the screen there is an alerts screen. This will contain critical information about issues or actions requiring your attention. For example, if your payment method fails, or REACH is no longer able to authenticate against your point of sale system you may see alerts here.
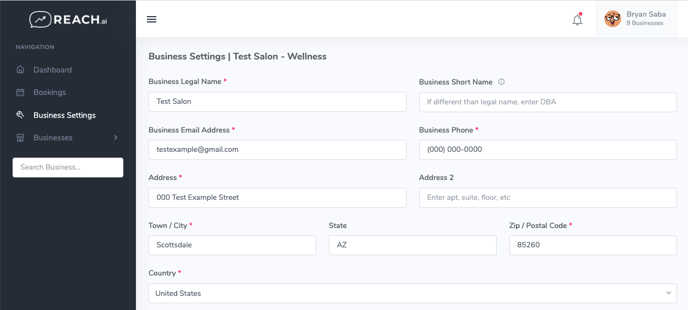
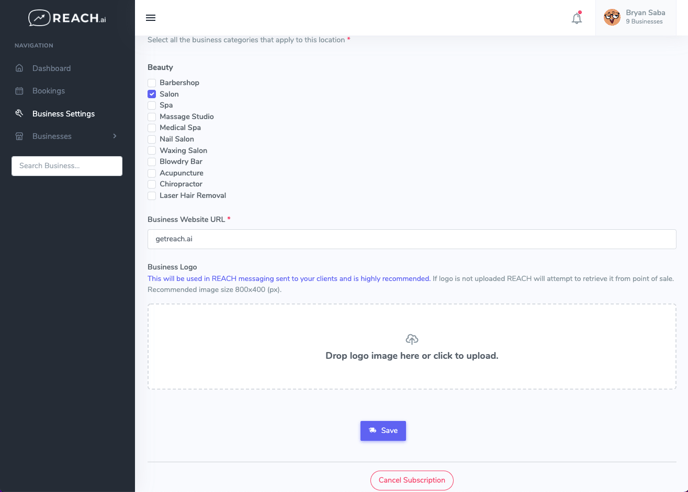
Business Settings
The business settings page on the lefthand side of the screen allows you to change the settings associated with your business. These are details you shared with REACH during onboarding. If the type of services you offer change, if your business contact information change, or your logo needs to be updated, all of those things can be done through this screen. Finally, if you decide you wish to end your subscription to REACH you can cancel at the bottom of this screen.
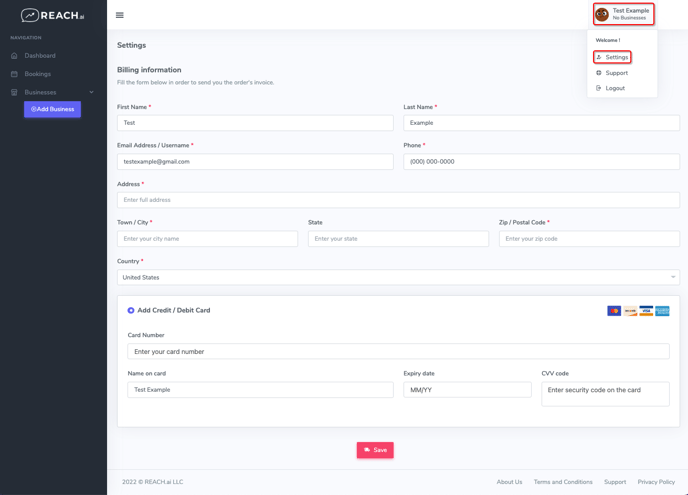
User Settings
The user settings page is found by clicking on your name in the upper righthand corner of the dashboard. From here you can adjust the information that REACH will use to contact you, update your billing information and save new credit cards. Additionally, if you want to chase the email address you use to sign in, you can do that here.
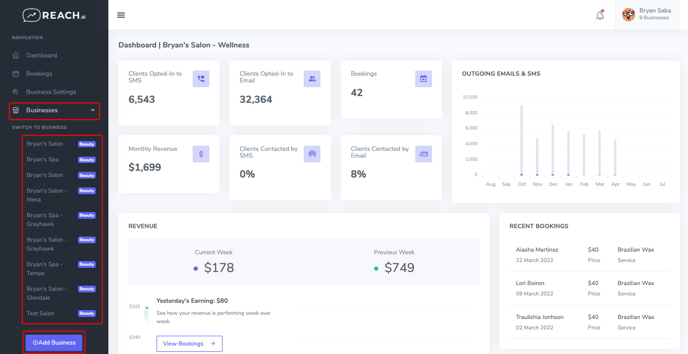
Businesses
If you have multiple locations onboarded to reach, you will be able to view each of their dashboards separately by clicking businesses in the left sidebar, and selecting the location you want to view in the dropdown. If you want to add additional business locations to REACH, there is a button that allows you to add additional business locations and proceed through the onboarding process for each of them.